Subversion in Eclipse
This page has been automatically translated using the Google Translate API services. We are working on improving texts. Thank you for your understanding and patience.
We will see how to configure Eclipse to manage Subversion repositories and synchronize them with local working copies. The great advantage of Eclipse is that it is available on today's outdated Linux versions. We can have a complete and functional development environment on machines that do not support VSCode or other more modern alternatives. Managing Subversion repositories in an integrated way with the environment will be very useful. For this tutorial we have relied on this page.
1. Subversive installation
The Subversive plugin will allow us to integrate Subversion within Eclipse.
- We open Eclipse. For this example, we are using the Indigo 3.7.2 CDT release on Ubuntu 12.04.5 LTS.
- Once opened, menu
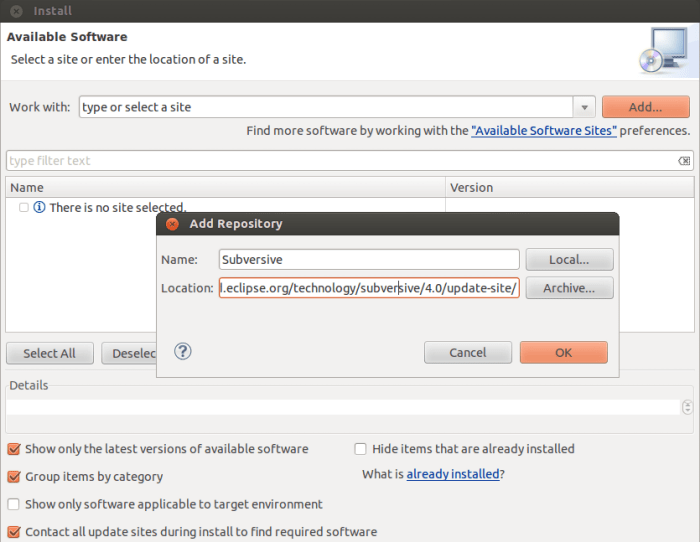
Help->Install New Softwareand press the[Add]button. A window will appear asking for a name and location (Figure 1). In Name we will putSubversive(or another). In Location we must put the following URL:http://download.eclipse.org/technology/subversive/4.0/update-site/ - We press
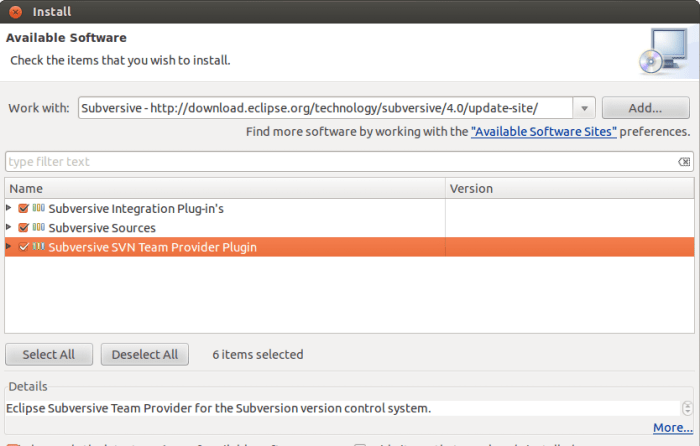
[OK]. - We select all the (Figure 2) options and press
[Next]. We accept the licenses and possible notices that may appear. - Finally, it will ask us to restart Eclipse. We accept.
2. Install connectors
Now we have to install the connectors between Eclipse and SVN.
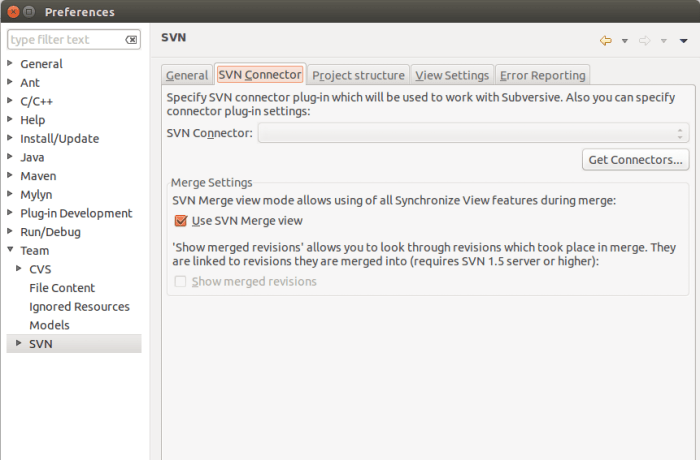
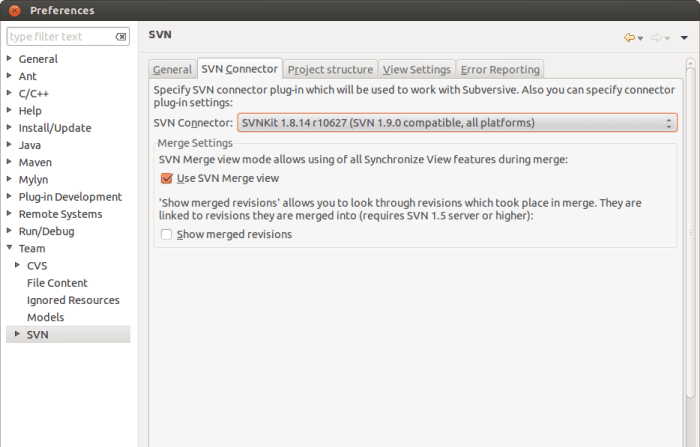
Window->Preferences. In the window that opens, go toTeam->SVNand then click onSVN Connector.- We press
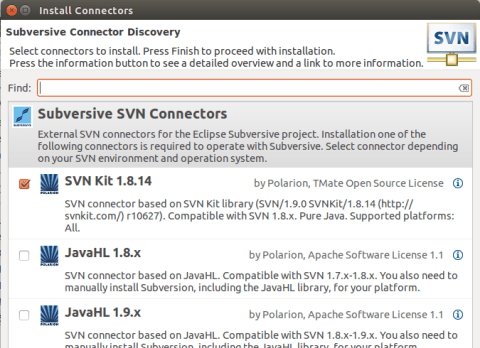
[Get Connectors...](Figure 3). - Of the options that appear we stay with the first SVN Kit 1.8.14 (Figure 4).
- Press
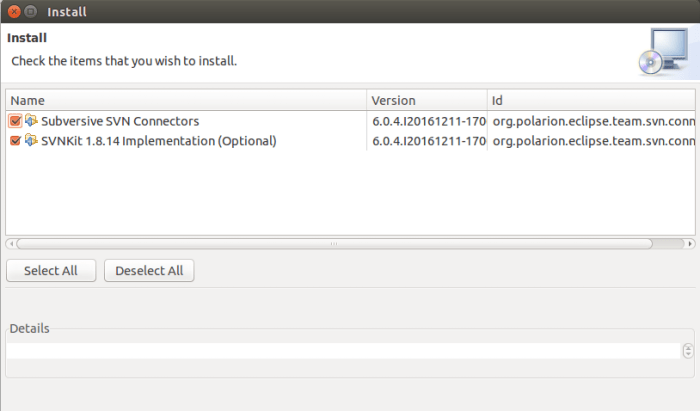
[Finish]and it will start searching for resources, in the process it will show us a window like the following (Figure 5): - We mark both options and continue, we accept the license agreement and, if a window appears warning us that we are installing unsigned software, we will click OK to continue the installation process. When finished, it will ask us to restart Eclipse. Press
[YES]and wait for it to restart. - To verify that everything has gone well, we return to the SVN Connector window screen and verify that the one we have installed now appears. (Figure 6):
3. Link repository
The time has come to link our remote Subversion repository with Eclipse. For it:
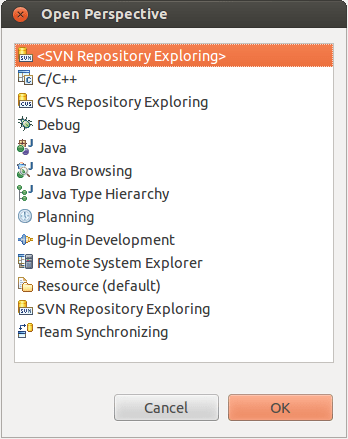
Window->Open Perspective->Other. A window will be displayed with the possible views, where we will choose SVN Repository Exploring (Figure 7).- From the
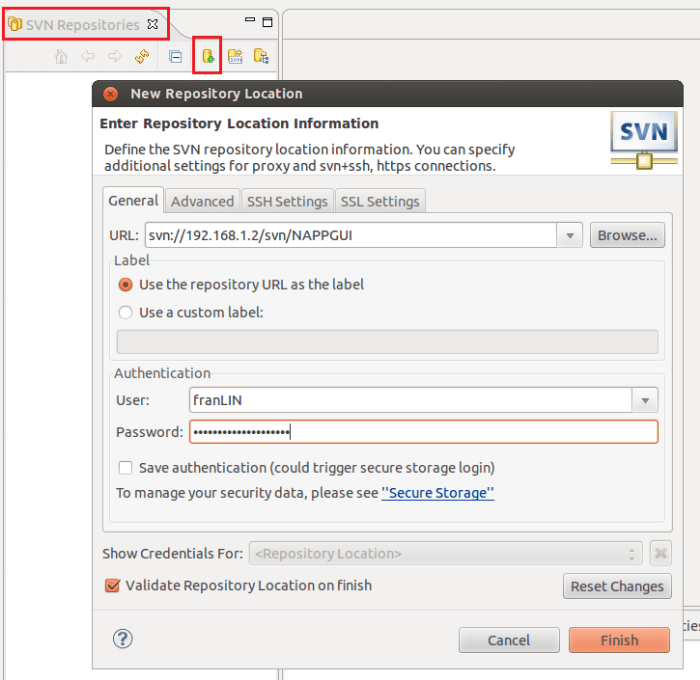
SVN Repositoriestab, press theNew repository locationbutton, which will open a dialog where we will enter the URL of the remote repository, the username and password. Then press[Finish](Figure 8). - Then we will see our remote repository linked within Eclipse (Figure 9).
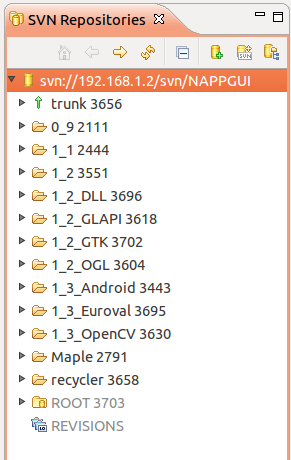
4. Create working copy
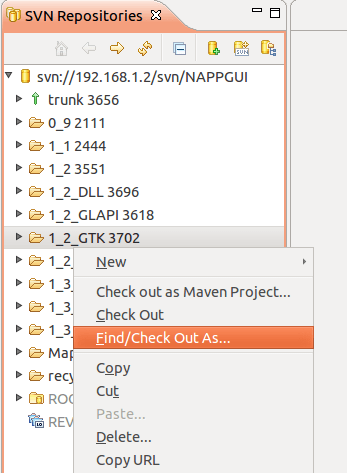
- From the
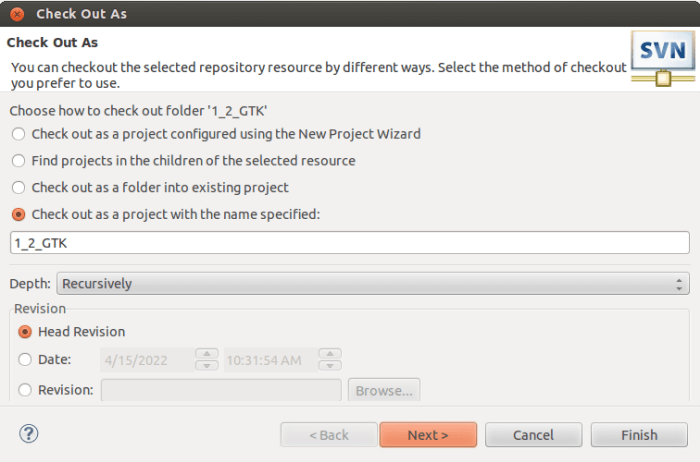
SVN Repositoriestab, right click on the branch you want to download. ThenFind/Check Out As...(Figure 10). - Then in the dialog
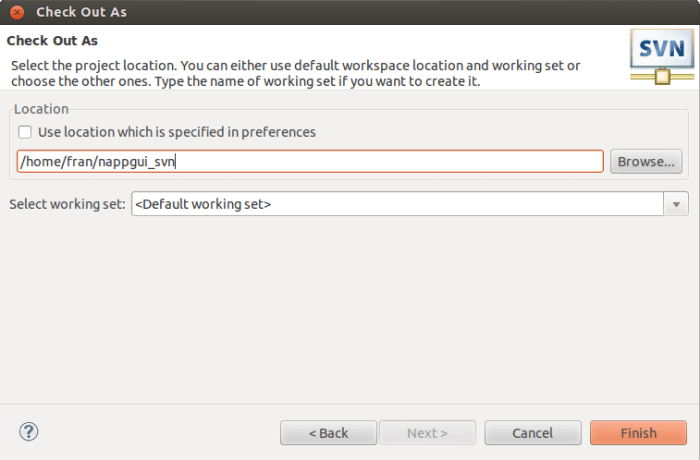
Check out as project with the name specified:(Figure 11). We press[Next]. - We indicate the folder where we want to download the working copy (Figure 12).
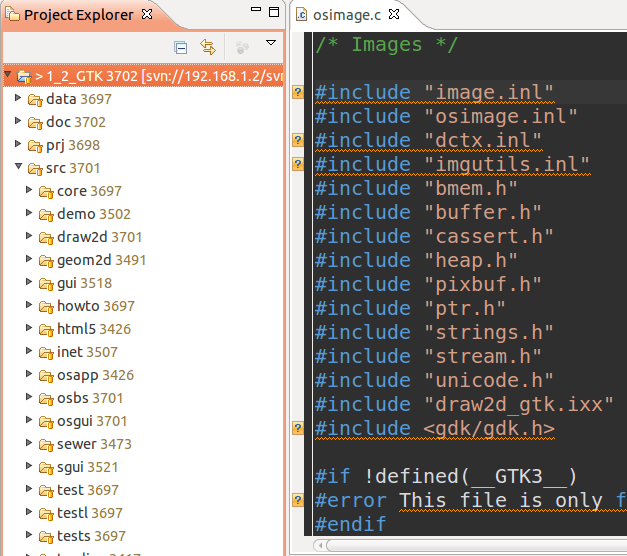
- To finish within the C/C++ perspective, we go to the
Project Explorertab, where our local copy will be reflected (Figure 13). - Now by right clicking on it, in the
Teamitem we will have the usual Subversion options: Commit, Update, Merge, Switch, Revert, etc.
